So last year was comical.
My son was super excited to be Captain America but when it came to the day he wouldn’t get into his costume. We battled it out. We won. He dressed up and he had fun. But I don’t think he realized that costumes are to be worn.
Fast forward a year … We decided to start early. We asked him frequently about costumes and explained all about trick or treating.
He picked.. an airplane! A white one. With pink stripes. So, I got crafty.
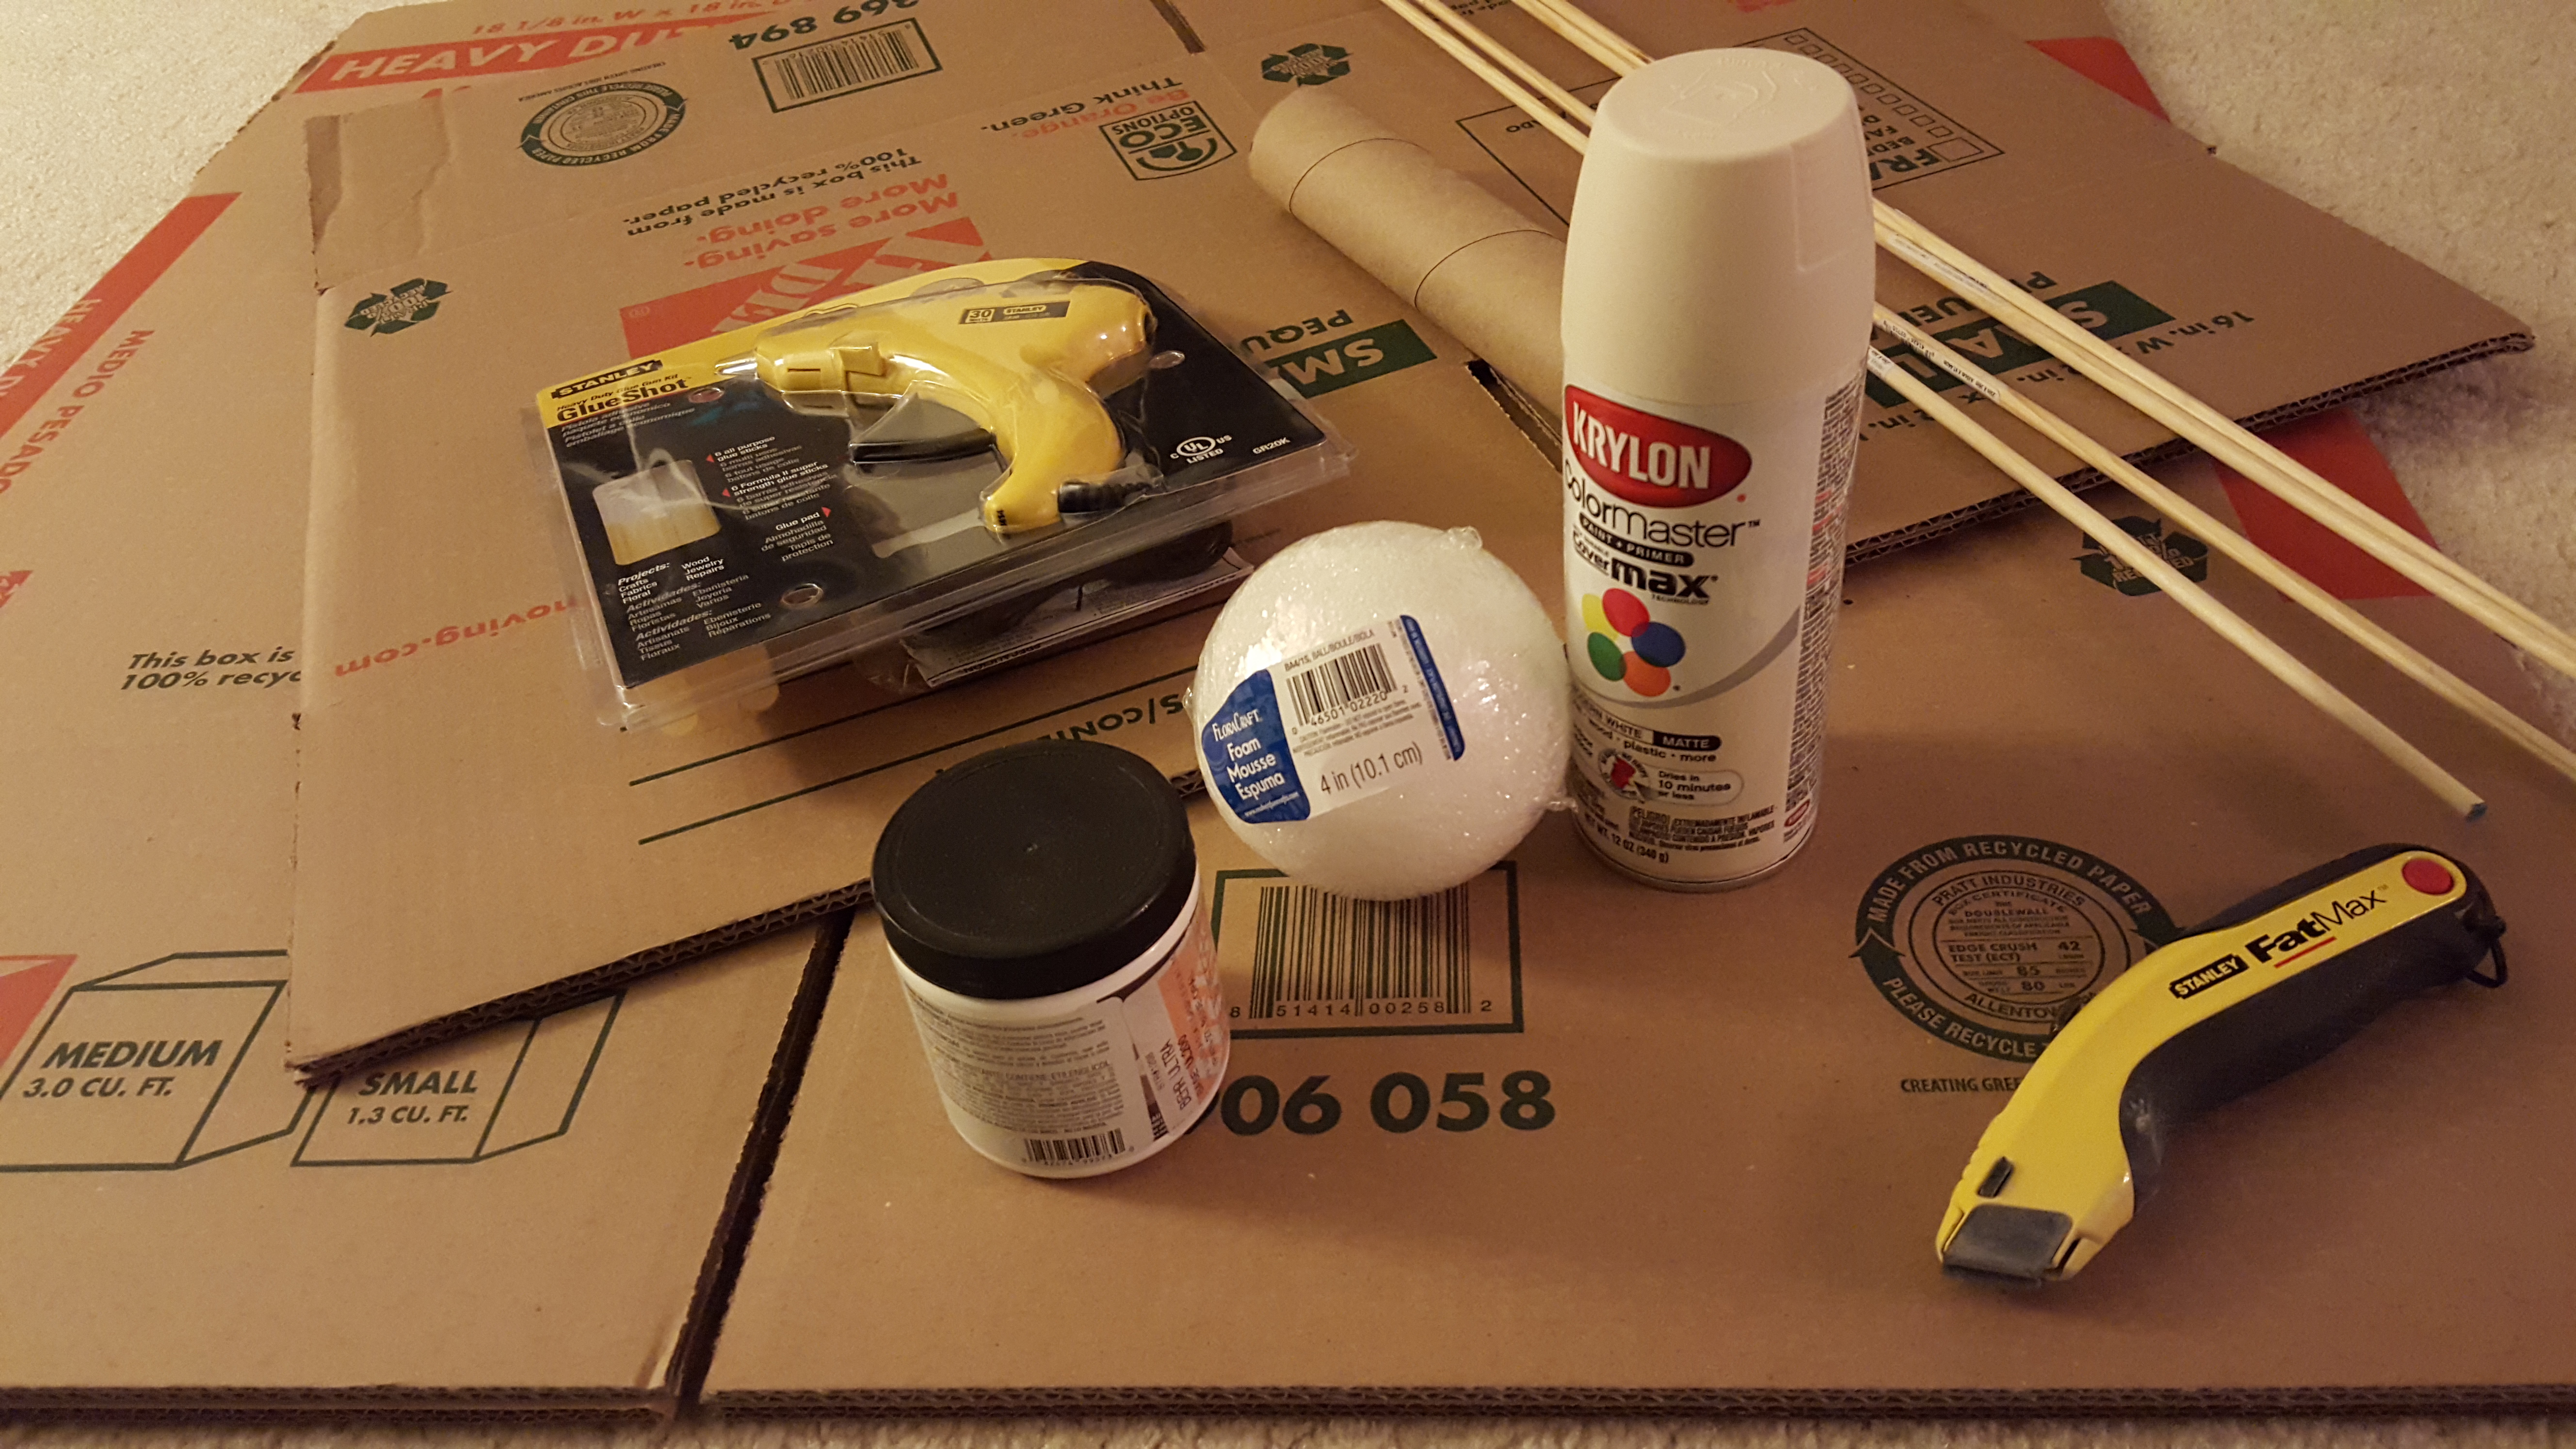
Here’s the supplies I needed:
- two boxes ($1.17 and $0.85)
- paper towel roll
- 4 inch foam ball ($2.99)
- two colors of paint (white spray paint ($4.62) and pink electrical tape ($6.99) in my case )
- wooden dowel rods ($0.69 each)
- scissors and/or box cutters
- hot glue gun
- poster board ($0.99)
- 1 inch heavy webbing strap or whatever you have at home but we didn’t have anything

I used the small box from Home Depot which measures 16 X 12 X 12 for the base of the plane where he is standing. I folded the flaps in and taped them down to make it a bit sturdier.
I then used the medium size box from Home Depot which measures 18 X 18 X 16 for the wings. The width of the wings need to be the same as the depth of the box. Maybe you already thought that through, but I didn’t. I cut the top and bottom and rounded the edges to make it look nicer.

I watched a long tv show and cut the dowels to the right size (height of the box) with a box cutter.
Next, I cut a whole in each wing in the center. I made the whole in the top wing slightly smaller than the bottom one where his waist would be.
Go ahead, spray paint it.

Thankfully spray paint only takes 10 minutes to dry so I worked on making the circle and propellers out of the poster board. Make sure the circle is large enough to cover the entire front of the box. Mine was a bit small and the corners of the box showed but I covered it up with the propellers.
The spray paint was dry so I began to jazz up the wings and propellers with my pink tape.

Using the paper towel roll as a measurement I made holes in the front of the box as well as in the circle and each of the propellers. Basically, trace a hole and cut. Repeat 4 times!
Attach the circle, propellers, and foam ball to the paper towel on the front of the box.


Make holes in the front and back of the top and put the straps through. I hot glued the straps (and later staple gunned them) to the box so he could wear the box over his shoulders.
My son and I spent an evening gluing it all together. Needless to say, it all fell apart because my son wouldn’t let me help with the glue. But when he went to bed I added more glue and some staples for extra protection.


Here he is with the final product!


In all it probably took a little over 3 hours. But I did it in bits and pieces so I’m not too sure. I also tried to include him as much as possible which probably quadruples the time! You know how that goes…
So, if you’re reading this in 2019 after you kid says he/she wants to be an airplane and you’re wondering how I did something just ask! I’ll still be happy to help and answer questions!


